Managing your Instagram account can be time-consuming, especially if you’re trying to post at optimal times to reach your audience. This is where scheduling your posts comes in handy.
In this article, we’ll cover the basics of how to schedule your Instagram posts, including tips to help you optimize your content and save time.
Why Schedule Instagram Posts?
Scheduling your Instagram posts offers several benefits, including:
- Saving time: Scheduling your posts in advance can help you streamline your social media strategy and free up time for other important tasks.
- Consistency: Posting regularly and consistently is essential for building an engaged following on Instagram. Scheduling your posts ensures that you maintain a consistent posting schedule and never miss a deadline.
- Reaching your audience: Scheduling your posts at optimal times can help you reach your audience when they’re most active on the platform, increasing engagement and visibility.
Note:- To Schedule Posts on Instagram you need a professional or business account. So if you don’t already have then before you begin with the steps given below, first convert your personal Instagram account to a professional or business account.
A step-by-step guide to Schedule Post on Instagram
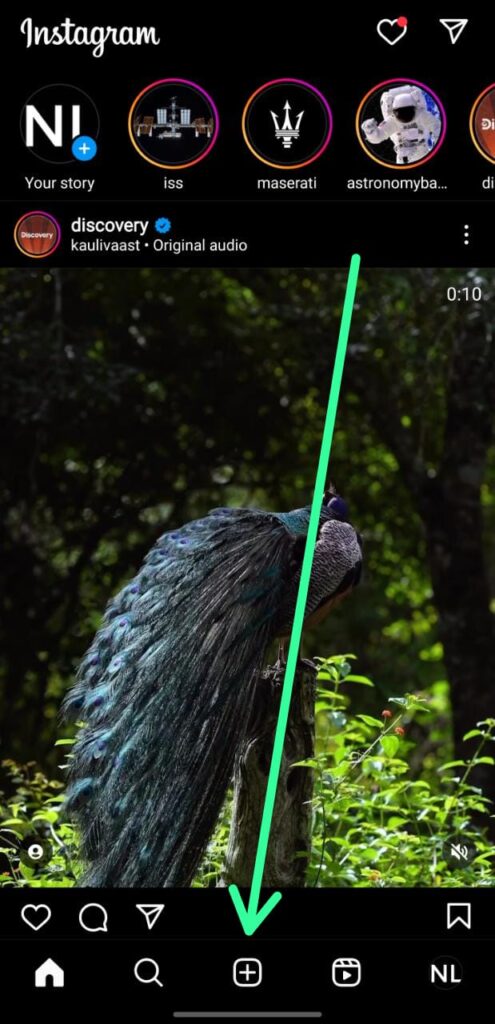
Step 1: Open the Instagram app on your mobile device and tap on the “+” icon located at the bottom center of your screen. This will take you to the post creation screen where you can add a new post.
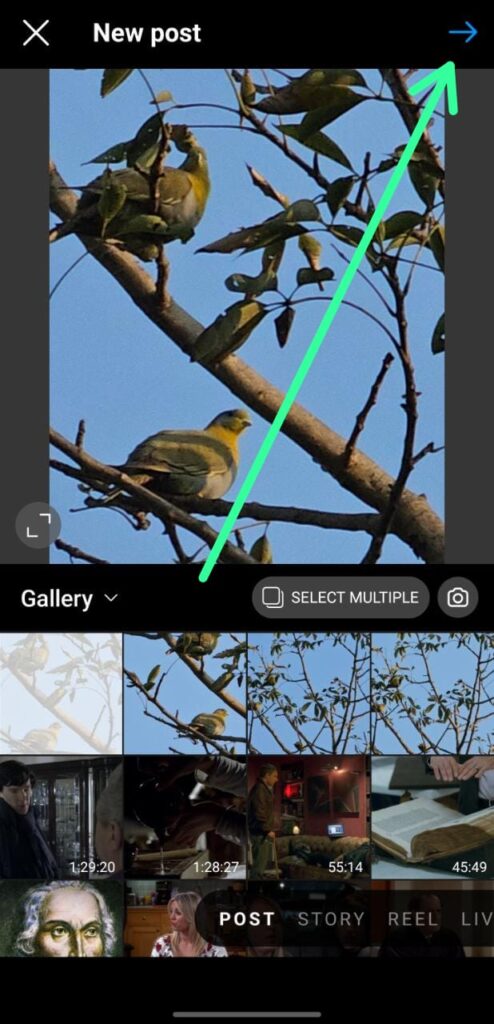
Step 2: After selecting the post, tap the arrow icon located in the top right corner of the screen to access the options menu.
Step 3: Now simply make the desired changes using the options menu. Once you’re done editing, tap the arrow icon again at the top right corner to move to the next step.

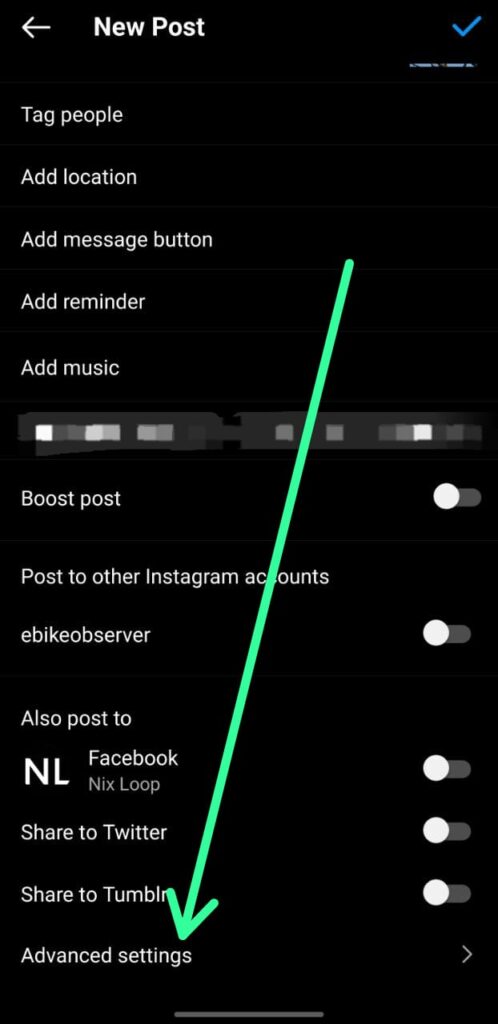
Step 4: Now scroll down the screen and locate the “Advanced Settings” option situated at the bottom. Tap on it to access further options.
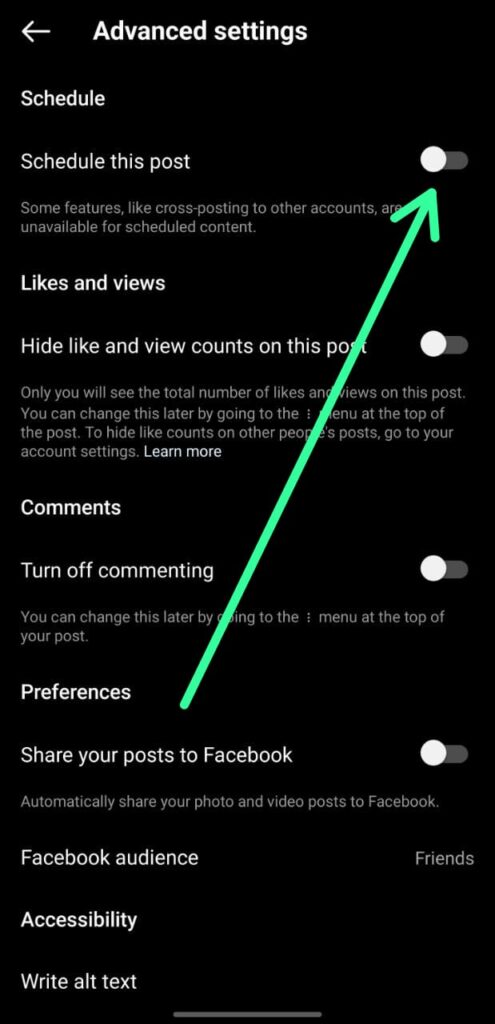
Step 5: Once you’re in the Advanced Settings menu, you’ll see the “Schedule this post” option positioned at the top. To activate this feature, simply turn on the toggle switch next to it.
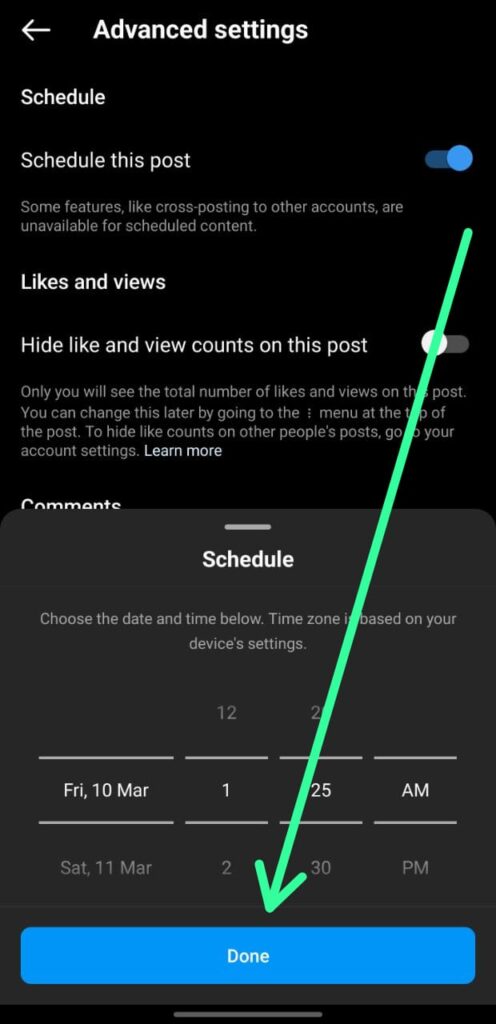
Step 6: Select the desired date and time for your post by tapping on the corresponding fields. Once you’ve set the schedule, tap on the “Done” button to save your changes.
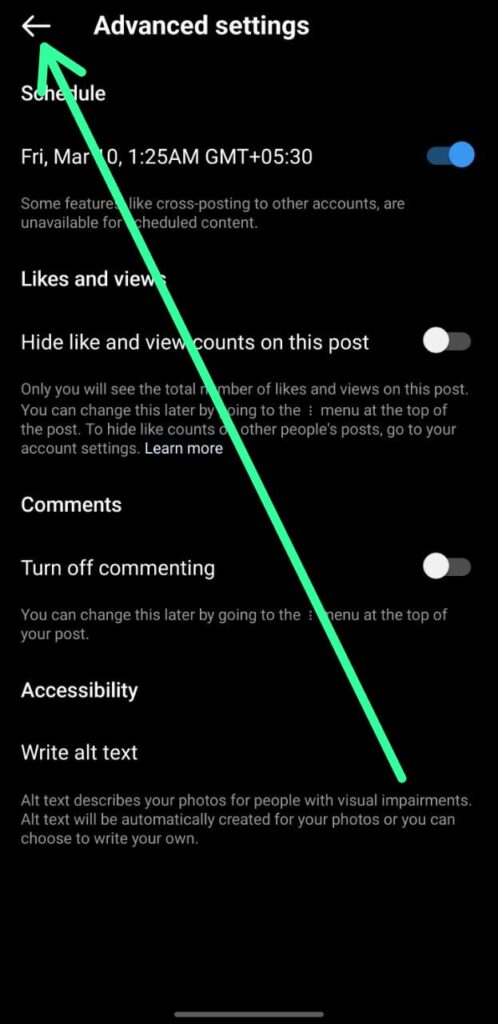
Step 7: Once you have finished scheduling your post, tap on the “Back” button to return to the post editing screen.
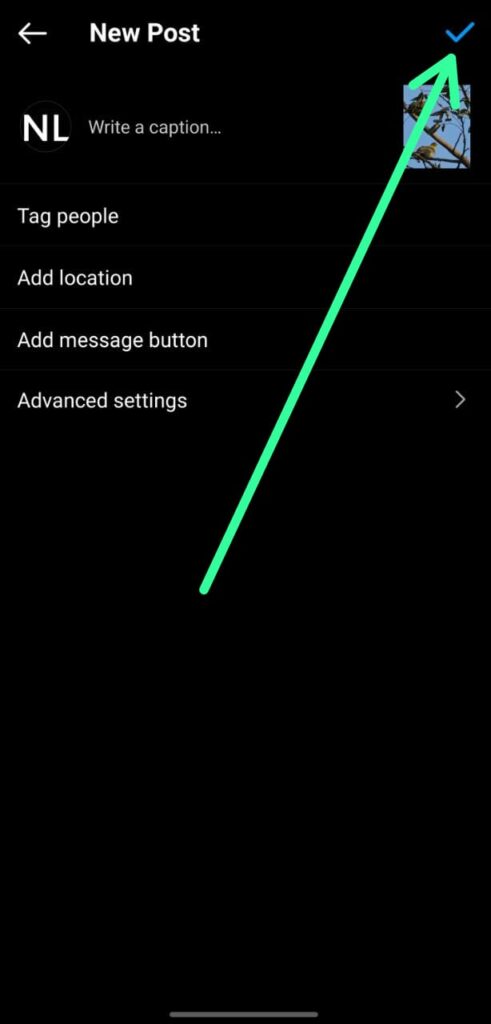
Step 8: Finally, to publish your scheduled post, tap on the checkmark icon located at the top right corner of the screen, as you normally would when posting on Instagram.
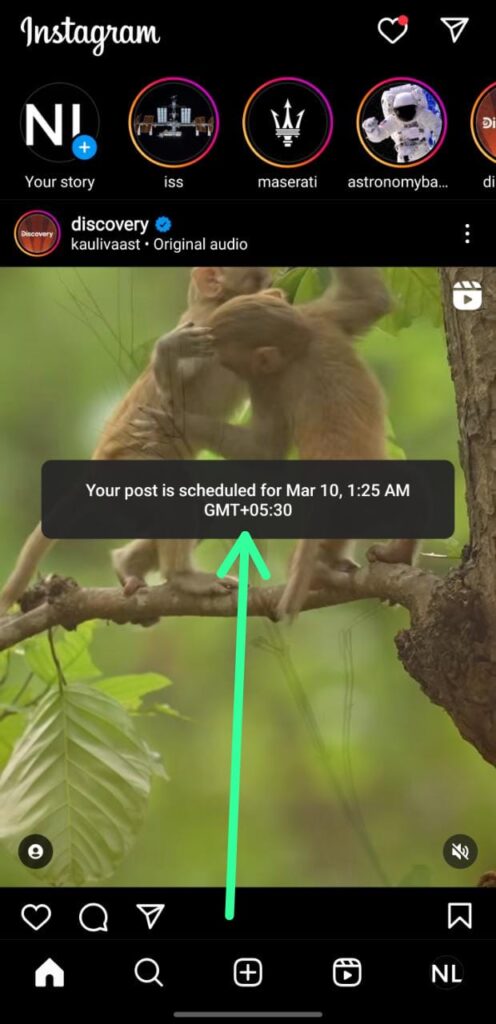
Step 9: Now a message will appear on your screen confirming that “Your post is scheduled,” along with the specific date and time that you have set. And it assures that your post will be automatically published at the scheduled date and time that you have set.