In this article, you’ll learn in detail about How to download and install Windows 11 from USB step-by-step guide (With Pictures).
I think the first thing you need to know is What are the best System requirements for Windows 11. After that, we can continue to the next steps.
To install windows 11 you’ll need:
- Of course, a computer to install windows 11.
- A Pendrive to make it a bootable device.
- Another Device to make Pendrive bootable Device.
- Working internet connection to download windows 11.
After that follow the steps we have given below.
How to download and install Windows 11 from USB in 2022
1) In the first step follow this article, (How to download Windows 11 for FREE in 2022) & windows 11 will get downloaded.
2) In the second step follow this article,(How to create a bootable Windows 11 USB in Linux (Ubuntu)) & you’ll get a bootable USB Pendrive.
3) Plug the USB into the computer that you would like to install Windows 11 on. Then restart your computer. You might need to press some key or a combination of keys to go to the boot menu. The keys to press differ on computers from different manufacturers. Follow this article to know your key combination (How to Boot Your Computer From a USB Drive in 2022).
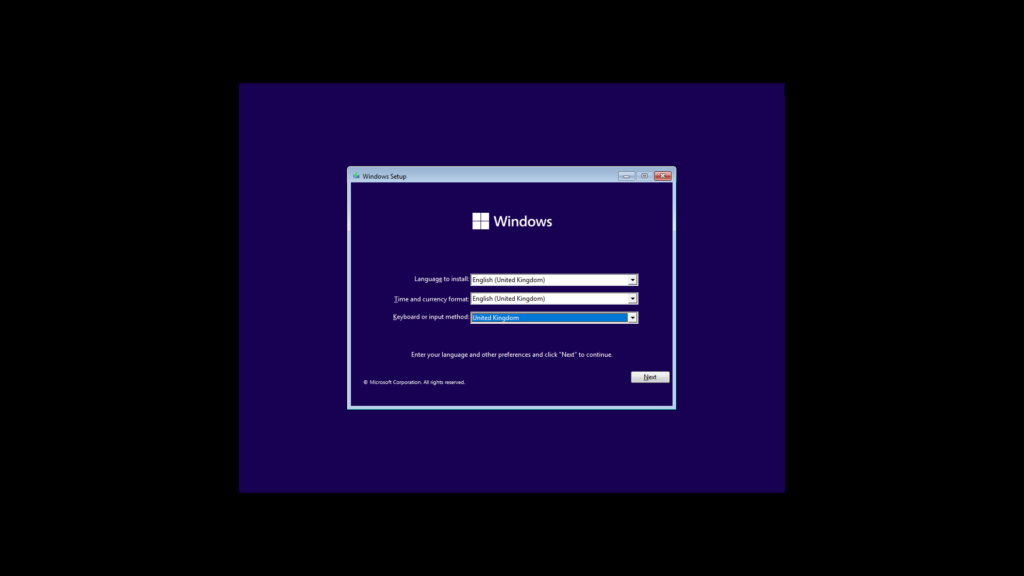
4) Now let’s start the installation process, on the Windows Setup page, select your language, time, and keyboard preferences. Then click on the Next button.
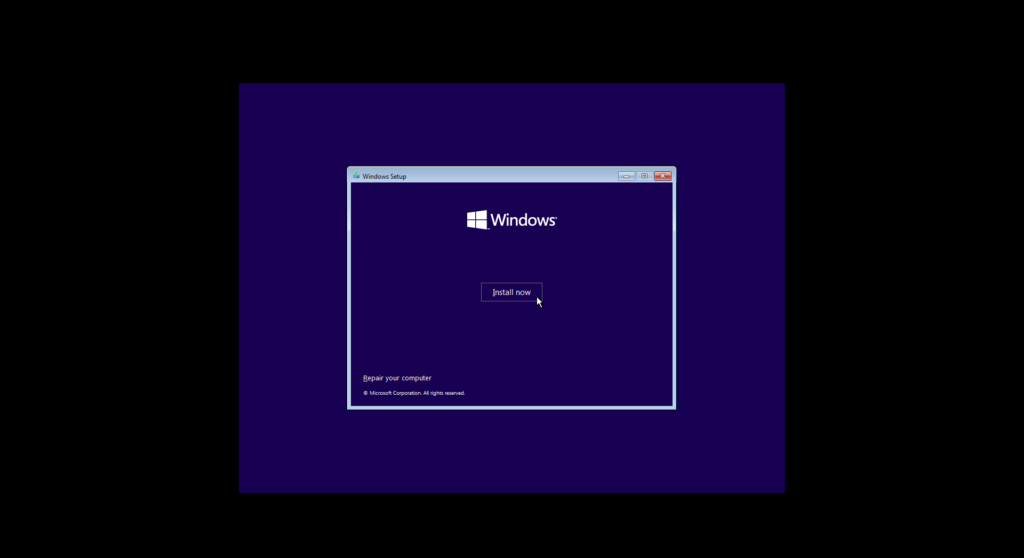
5) After that Click on Install now.
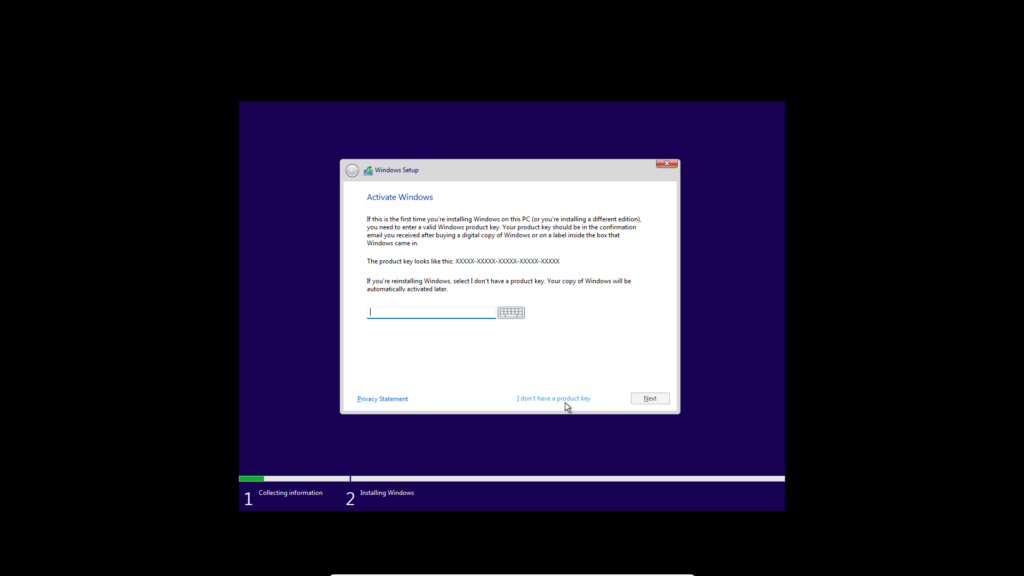
6) Now windows 11 will ask you to provide the Product key if you have then type it, otherwise click on “I don’t have a product key” option.
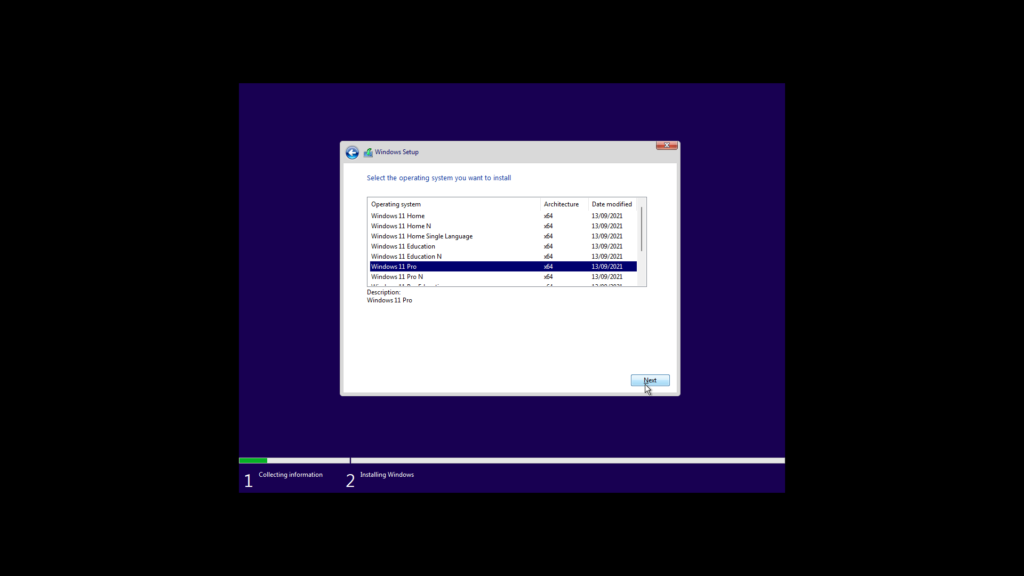
7) Now select the operating system you want to install, just choose Windows 11 pro.
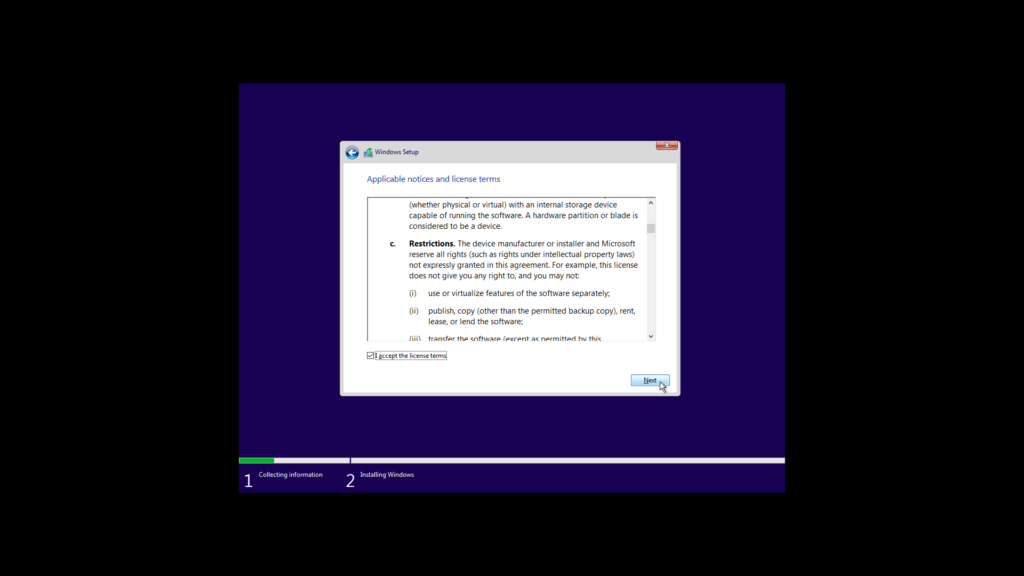
8) On this page accept the term & conditions of windows 11 after reading it.
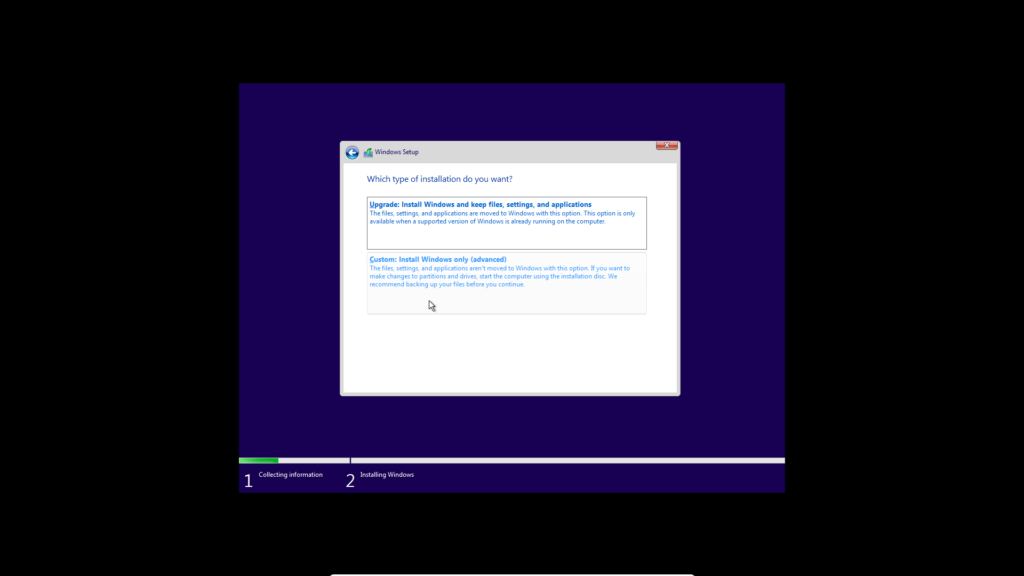
9) Now if you already have the older version of Windows on your PC then go with the first option it’ll save your data, otherwise select the second option.
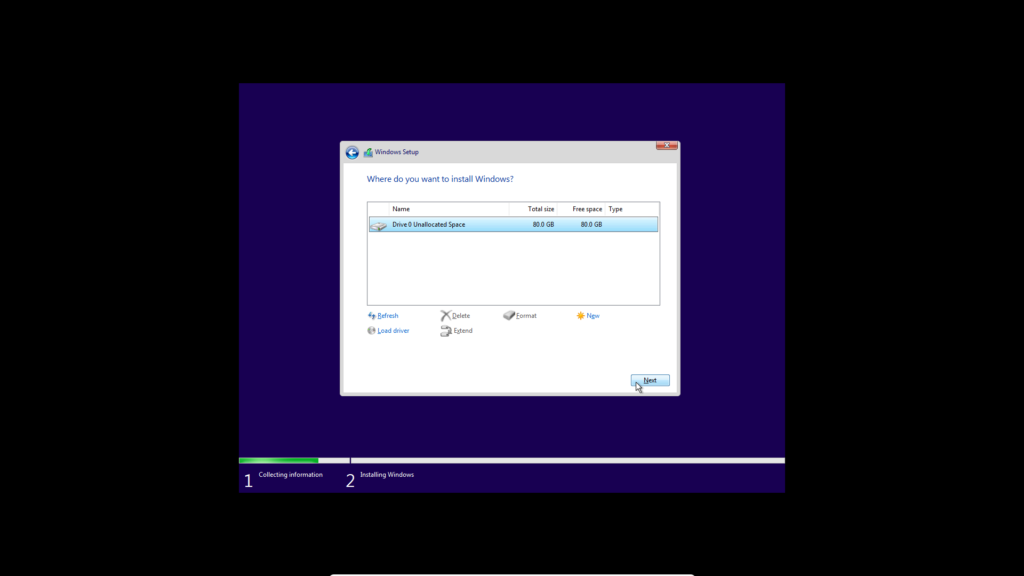
10) now leave the unallocated space as it is, you can create the partition in the later stages. So leave it & click on Next.
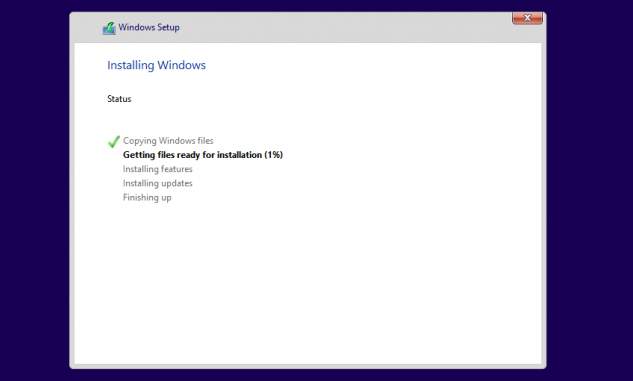
11) After that you’ll have to wait for the installation process to get complete & you’ll get the ‘right green’ tick in front of all processes. After that, it’ll automatically restart your pc.
12) After that Sign in with your Microsoft account. The rest of the procedures are quite simple, Follow the on-screen setup instructions. Once Windows 11 has been installed on your computer, you’ll be able to customize its settings (e.g., your region, your preferred language, location settings, etc.). And within a few minutes windows, 11 gets installed on your PC. Once you finish this process, you will be taken to your computer’s desktop.
Wrap Up: Download and install Windows 11
This is all on the topic of How to download and install Windows 11 from USB step-by-step guide (With Pictures). I hope it helps you.
If you got any issues then feel free to ask in the comment section or in our Telegram Group.
For more tips & tricks related to Windows 11, do consider joining our Telegram Channel –NixLoop to get Notified of our future updates.
1 thought on “How to download and install Windows 11 from USB step-by-step guide (With Pictures)”